
As soon as I read through Leandra's post for the current PaperArtsy abstract art challenge, I knew that I wanted to take a stab at using gold leaf..... even though I am no painter! After my usual noodle around the internet, I came across a free video from Nancy Reyner, author of the wonderful book Acrylic Illuminations. She demonstrates a great technique to apply the leaf square with waxed paper, and also takes you through various types of leaf, both real and composite.
As I had some leaf, and an 8 x 8 clayboard, I just needed to obtain some leaf sizing (adhesive). Luckily, we have a fabulous, local art supply store (thanks to having a vigorous fine art program at Yale University!) and I was further lucky that they are open rather late on Sunday evening, when I read the post! So off I went, and sure enough, they had a nice small jar of size. Soon, I was at home happily readying my board. Warning - this is very photo heavy as there are many distinct steps I want to capture for my own records....feel free to skip through!
As Nancy explains, gold leaf really looks best on top of a color other than white, since there are bound to be happy imperfections, but the white makes things look poorly done rather than artistic. Having color, though, yields the same visual satisfaction of crackling. Since this was my first time out, I decided to follow her color scheme, with a deep red mixed with gesso.....


and decided to build up some yummy texture. Can't pass up that opportunity, lol! This will dry much darker, as you see above.

Once this was thoroughly dry, I applied my leaf - sorry for the dark lighting - winter and a crowded work area make lighting a bit challenging. As you can see, the red peeks through the little cracks here and there. Time for glazing!

I found another free Nancy Reyner video, again following her suggestion to use both red and green glazing. I initially made my glaze on deli paper - not a good idea, as it seeps through! Better to use a palette, or palette paper (which I cannot locate in my mess at the moment!)

Following Nancy's guidance still, I applied rather liberally and wiped off.


I also worked some plain glazing medium over the color, which also helps remove surface color while leaving color in the textured fissures and ledges. I did the same with the green.


this will dry clear, leaving behind the wonderful glimmer of many micro beads.


This picture gives you a better idea of what it really looks like.

By this time, I decided to use the bead gel as the foreground.... maybe water, maybe not. Nancy's paintings are wonderfully abstract, leaving much to the imagination of the viewer - so I wasn't too worried about what it "represented".
Next up - the color wash. For this, I purchased Nancy's downloadable video lesson - and in respect of her efforts for this one hour class, I will not be giving very detailed information about how to work with the gel, or the surface. But I highly recommend this video - she is a great teacher, and the price is quite modest.
I applied some light blue, then some indigo, and finally some white - all high flow or fluid acrylics, with lots of water added. I tilted the board here and there, just as I would with a journal page with lots of spray...

I made sure to draw some of the color onto the leaf itself, beyond the glass beads.

I futtzed around with the blues and whites quite a bit. I was afraid to let it dry like this, for fear of covering too much of the leaf.... but once I wiped off, I wanted the effect back - so back and forth I went! Next time, I will make a smaller demo piece with some different applications, so I can see what happens.


and I like how it turned out.


Now, on to the sky..... created with matte medium and high flow or liquid acrylics. You could also use regular, but would need to use very, very little.

You can see that I am pulling the color downward, and getting it more translucent....following one of Nancy's techniques.

I decided to add some gold mica paste that I happened to have from this make... and mixed the flake with some transparent texture paste, to get that additional texture while preserving the see-through effect.


Here you can see the dried flake after I applied some dilute umber acrylic.....

and without the paint.


and applying over the plain leaf and the mica flakes and bead gel.


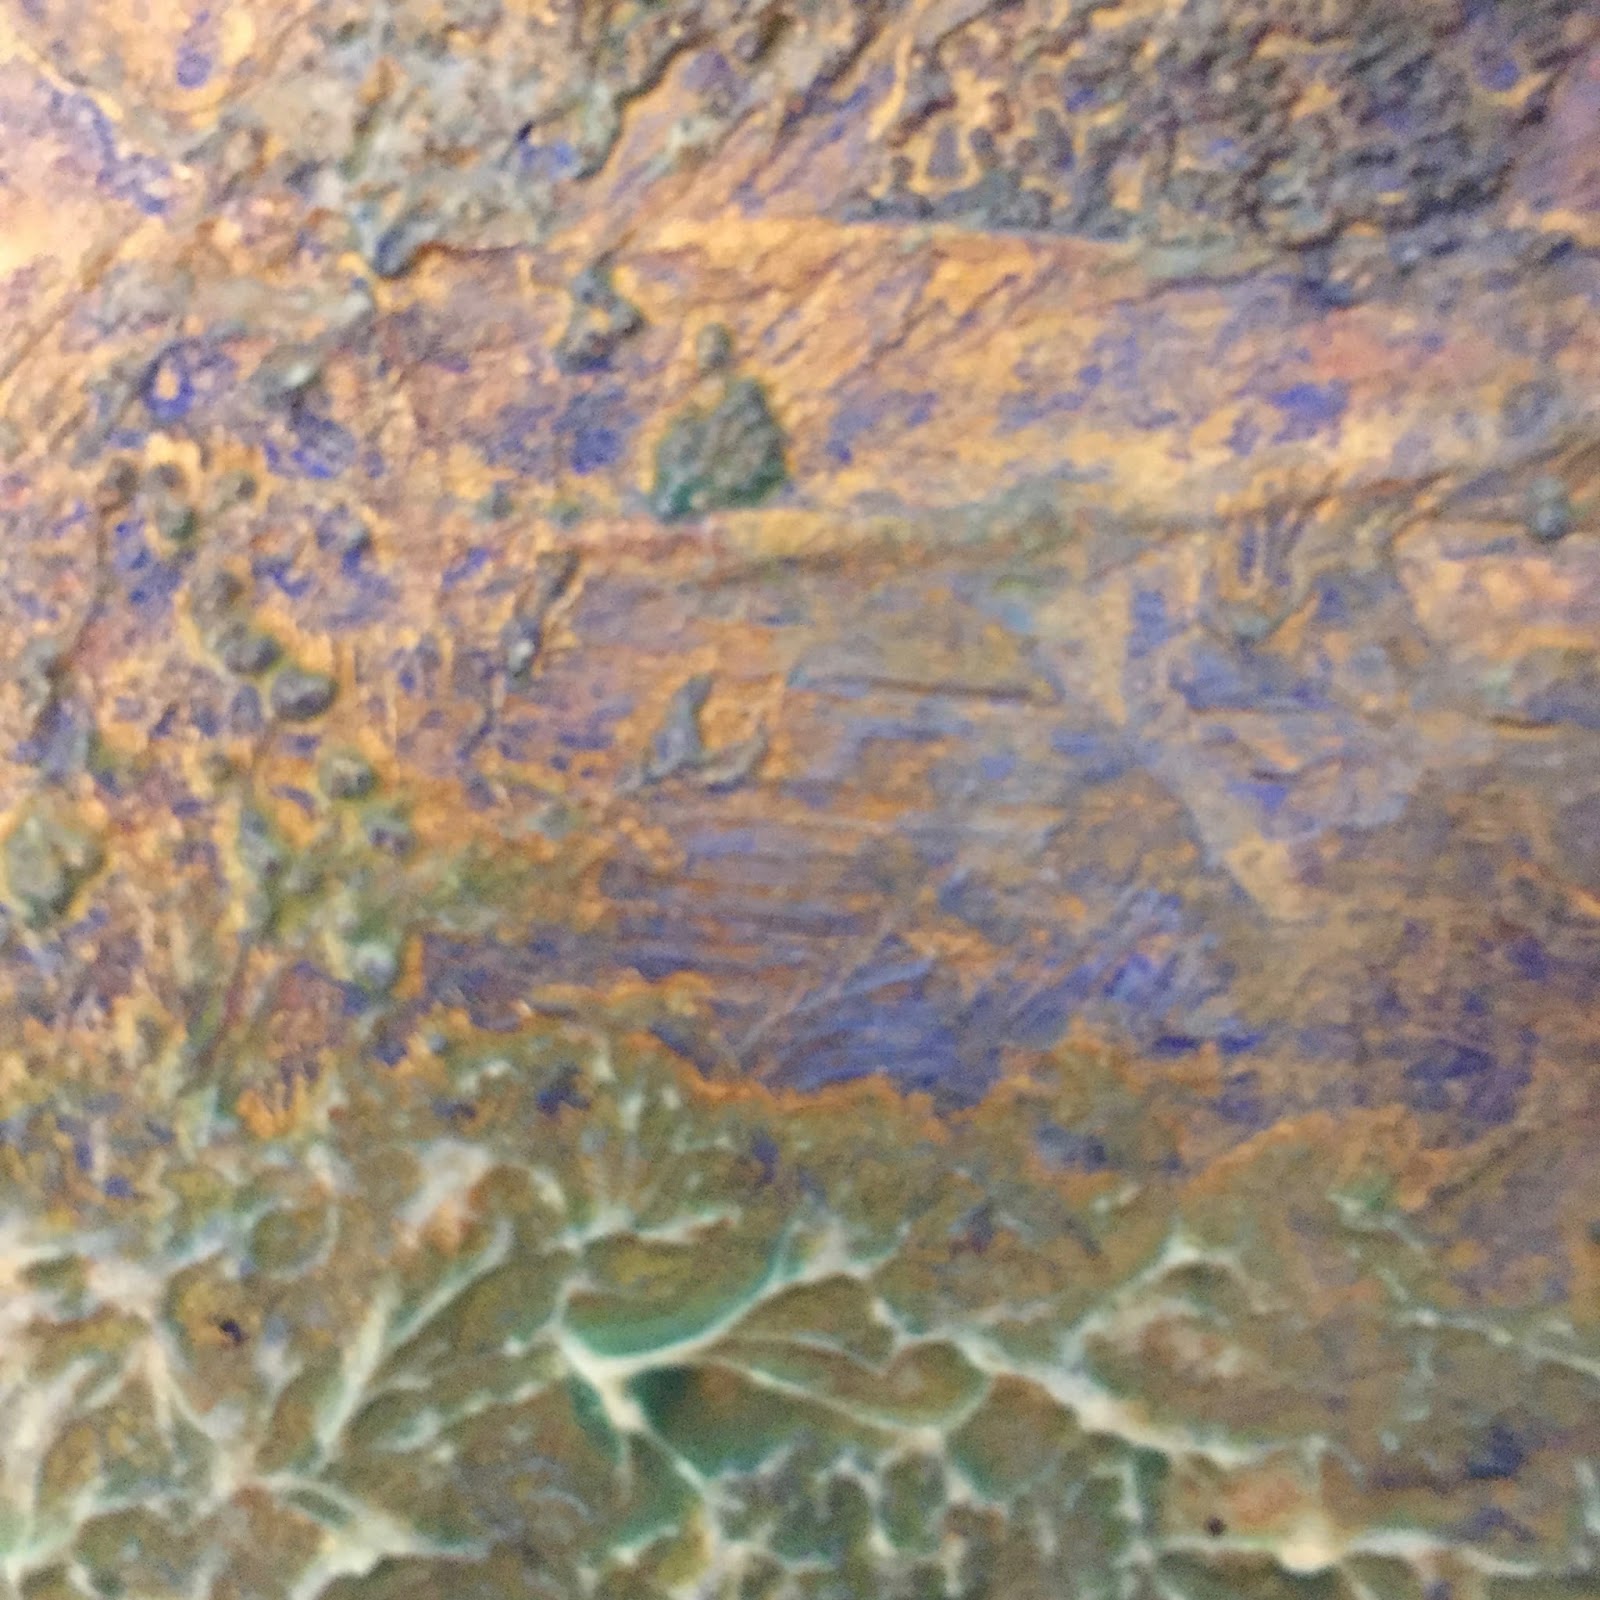
I like this piece - the photos really do not do it justice....and it changes so much in different lighting. Just some detail of various bits.... You can see that the final piece actually has very little plain leaf showing...even in the bright sky, you can see the glazing predominates. But as you look around, plenty of the leaf peeks through....


Thank you so much for stopping by, and if you've read through - congratulations! I had a blast making this, and look forward to trying it again - using other medium and gels, and trying this without texture.
If you've time, please do leave a comment - I always love hearing from you!!
xxx Lynn
I also found Nancy's books and DVDs online, but haven't had a chance to dive into creating with them yet. I think you've inspired me to give it a try. Your painting is absolutely gorgeous.
ReplyDeleteLovely textures, stunning creation
ReplyDeleteI read it all, and have examined all the pictures in great detail - what glorious layers of glazes and textures and what a fantastic glow from the gilding underneath. Altogether a beautiful abstract piece - to my mind fully abstract because it allows the viewer to see with their own eyes whatever they find there. Glorious!
ReplyDeleteAlison xx
Wow Lynn, this is incredible!! I just loved watching your process, you have really put all of these wonderful products to great use. Your piece has so much texture and all the layers create beautiful dimension! I see a lake and mountains and the green valley...brilliant abstract piece! hugs :)
ReplyDeleteAbsolutely and completely IN LOVE with your creation Lynn. This is just FABULOUS. It has such an impact on me.... just stunning. TRUE work of art. Going back to admire it some more. Sheer beauty. j.
ReplyDeleteWow, this is wonderful. I love all the textures and the beautiful light effect of the gold across the centre. Thanks for the detailed step by step guide, really interesting to see it developing. You've made me want to try! Thanks for your visit and lovely comment too.
ReplyDeleteWow, this is the most fabulous piece of work - it will look stunning on a wall, especially as the light changes. It's been so interesting reading about the development of this and your techniques and products, you've made me want to get my brushes out! I love the shimmery effect and the hints of gold leaf - absolutely beautiful. Thanks so much for sharing the info.
ReplyDeleteWow, this is the most fabulous piece of work - it will look stunning on a wall, especially as the light changes. It's been so interesting reading about the development of this and your techniques and products, you've made me want to get my brushes out! I love the shimmery effect and the hints of gold leaf - absolutely beautiful. Thanks so much for sharing the info.
ReplyDeleteOh my goodness! This is so detailed and layered. What a wonderful post to read, seeing all of the steps you used to crate this abstract piece is amazeballs. Love the final result and everything in-between. I would love to see this IRL as well! Hugz. ~Niki
ReplyDeleteGoodness... the layers of paints on top of the shiny gold leaf... so yummy!!! Love how your piece turned out and the textures (beads etc..) are a bonus.
ReplyDeletewhat a amazing piece of art, love the touch of gold showing through. Thank you for the step by step pictures, I feel the need to branch out and experiment more. xx
ReplyDeleteAbsolutely beautiful art work. Fabulous techniques and great effective. Very elegant your gold colours. xx
ReplyDeleteLynn, I am entranced by this incredible art I see before me. I feel as though I have been transported to the great outdoors, listening to the bubbling of water from a nearby river and the sun bouncing off the gold and mica embedded in the rocks.
ReplyDeleteSuch an evocative piece of art and so pleased you shared all the photos and steps to this unique piece of art.
I know this will remain in my mind for a long time.
Wishes
Lynne
WOW Lynn! What an incredible background! LOVE the way you've built the depth on this. Jenny x
ReplyDeleteThank you so much for your fantastic post. I am keeping it on my computer so I can try and learn. Beautiful work!!
ReplyDeleteSandy xx
Been meaning to pop across as soon as I saw a snippet in my email....fab step x step and just adore the results, must try this, a stunning piece of 'illuminated art!! Ruth x
ReplyDelete