
After some thought, I decided to make another little book, so I could also put a second entry into the June challenge at Mini Album Makers. And for good measure, I decided to make my theme about travel/transport, so that I could enter the Monday challenge at Simon Says Stamp, the gist of which is "Transport It".
This will be a photo-heavy blog entry, as it is the way I keep track of my crafty journey, so please grab a favorite beverage and take a look!
I started by cutting the new Eileen Hull Note book Die from Sizzix, first out of black mat board for the cover, and then twice more from heavy black cardstock to make the pages. I was inspired by the technique that Kathy Clements uses for this die, which is to directly glue the pages into the finished cover, rather than using elastic to keep signatures in place. I wanted to make this a very interactive book, as you'll see!
My first step was to gesso the cover, crumple up some tissue paper, and adhere with Glue & Seal (now discontinued, but I am sure that Collage Medium would work just fine). After this substrate had dried, I generously sprayed with Dylusions After Midnight, spritzing with water and tipping here and there to get the color concentrated in the various nooks and crannies. Then I dabbed out some Brushed Pewter Distress Paint on my work surface, diluted with a bit of water, and splattered all over - I was going for a night sky effect.


 After this dried, I trimmed off the excess tissue paper, turned the cover over, and applied more tissue paper which had a beautiful script print to it. This time I cut the paper to size, as I was not crumpling it.
Some ink from the Dylusions spray migrated onto the inside cover, despite the gesso. So I ended up painting a light coat of Shaded Lilac distress paint over the whole inside cover to make it look coherent.... one of my favorite shades so I was not concerned.

Once this dried, I sealed everything with Glue and Seal (matte medium or collage medium would also work). Next I applied Emerald Creek Burnt Copper Leaves embossing powder to the edges, to try to cover the "sandwich edges" between outside and inside covers.

In hindsight, I would first apply a narrow washi tape finish on the edges before heat embossing. Bits and pieces flaked off as I handled the cover to insert the finished pages, and I think having a more solid substrate of tape would have helped. Also, this embossing powder is quite chunky, so probably not the best selection for this type of treatment. But it sure is lovely!
I then die cut and heat embossed with a fine gold embossing powder the new Destination die from Time Holtz. It is too wide to fit on the front cover, so I cut it in half, and matched the two pieces on front and back cover.

The gold embossing on the globe diecut was a bit too bright, so I knocked it back with some aqua and iron Prima gilding waxes. I then cut a piece of brown ribbon, and affixed that to the cover with a brad. Onto the inside pages!
I created an accordion mini-booklet for the first page. I smooshed some 90 lb. water color paper into Antique Linen and Shaded Lilac Distress Oxide Inks that had been spritzed with water, and continued to do so until my entire page was covered and to my liking. I did this on both sides.

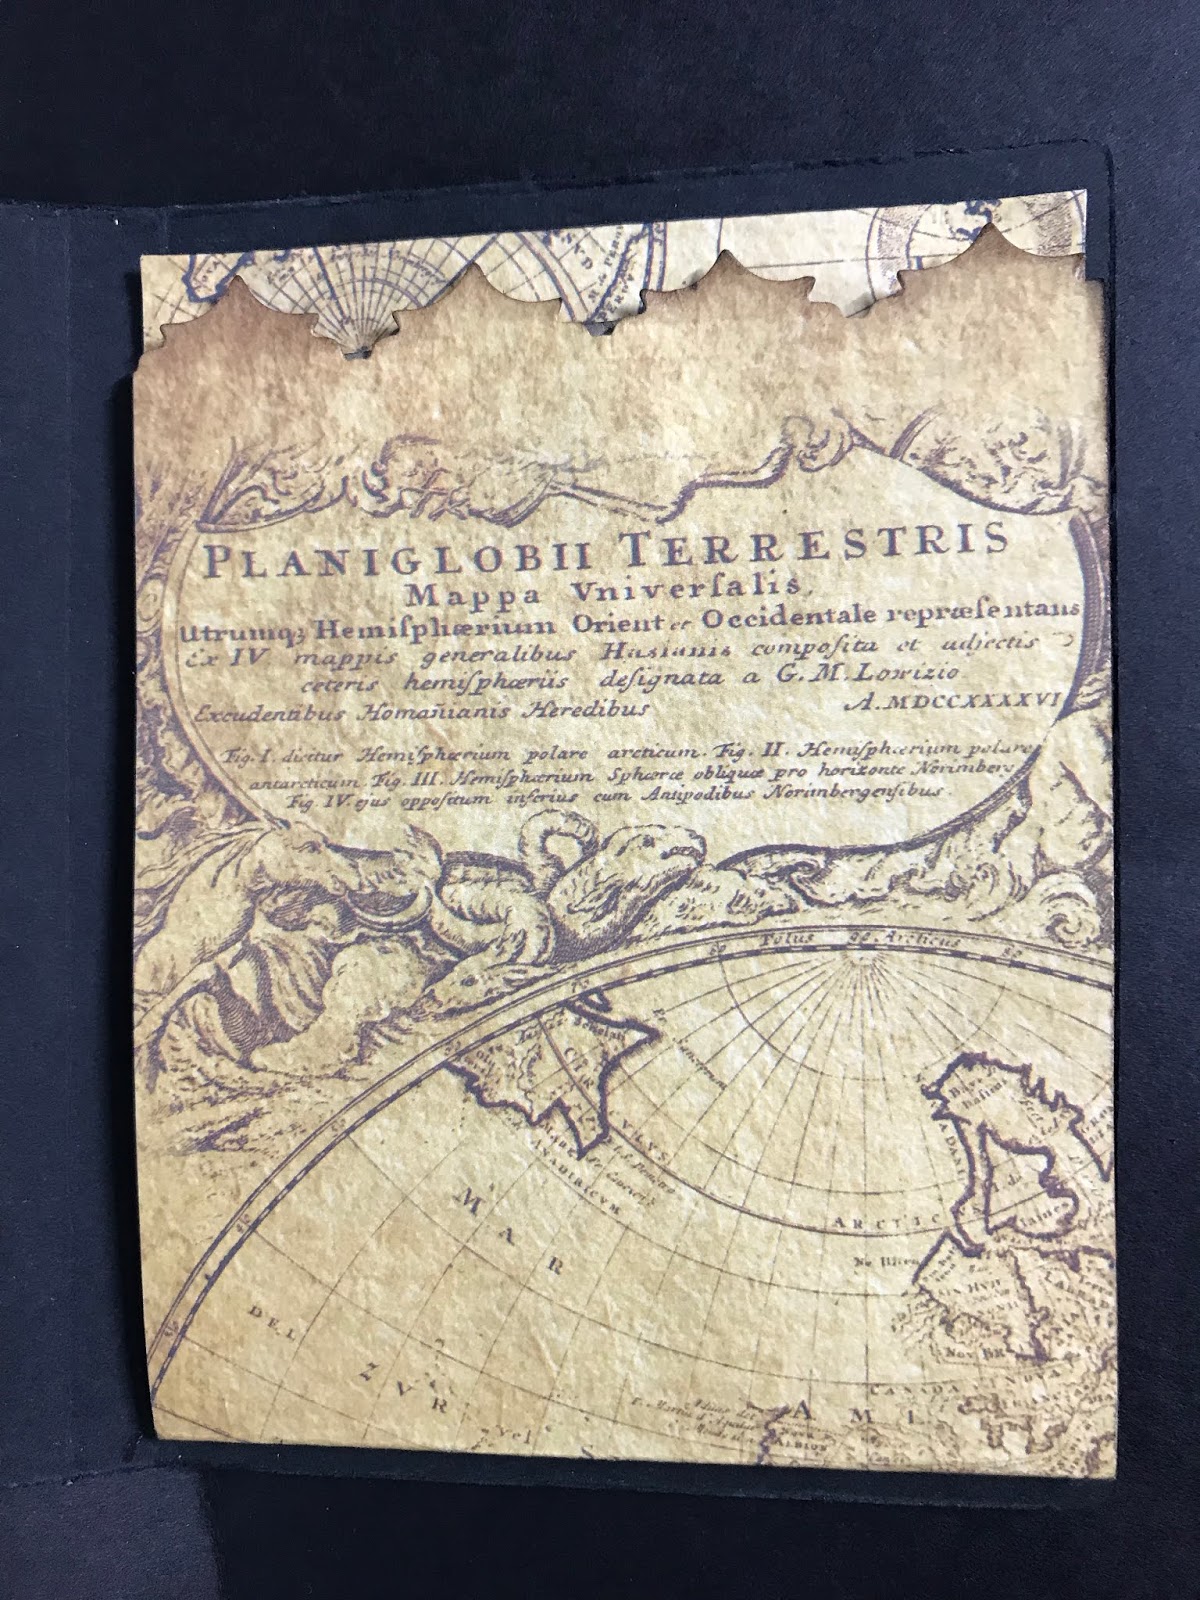
Then I accordion folded this piece, and adhered various images from the Stamperia Fantastic Voyages paper pad, bits of 3D embossing folders from Tim Holtz, and some fabulous stamps I have from Michelle Ward at Green Pepper Press, and from Carabelle Studios. I embellished a few images with other bits from the paper pad and with various 3D cut and emboss folders from Tim Holtz, highlighted with Prima's gilding wax.


The second page is simply an image cut from the Stamperia paper, to hide the cord from the first page. The third page features a small pocket made from the Tim Holtz Gearhead corner die out of black card highlighted with various gilding waxes, and a little card made from the Stamperia paper....

For the fourth page, I created a pocket made from cream card, embossed with the 3D Mechanics embossing folder from Tim Holtz. I covered this with Antiqued Bronze Distress Paint, and some iron gilding wax from my stash to age it. Inside is a little tag cut from the Stamperia paper, with a small bronze eyelet to which I attached some twine....


The next two pages offer a pop-up of gears created from the Gearhead thinlits set.... quite hard to capture on camera, but I must say very fun in real life! The gears are highlighted with various Prima Metallique gilding waxes.


 The final page is a little pocket, again from the Stamperia paper (as well as a leftover from the Alchemy paper used in my last book), and some tags cut from the Fantastic Voyages Stamperia pad.
The booklet itself closes with the ribbon wrapped round....


Thank you so much for stopping by, and for hanging in with me through this long post! Please do leave a comment if you choose - I love hearing from you!
 |
| http://minialbummakers.blogspot.com/ |
Wow Lynn, you really did create the look of a night sky with the tissue paper, the colour is fabulous and I love how you embossed around the edges! The globe is such a great addition to the cover too. The papers inside are wonderful (especially the Alchemy - love that pack). I can see how you were inspired by Kathy's wonderful tutorial and love how you changed it up with the accordion element! Thank you so much for joining in with Astrid's challenge this month at A Vintage Journey.
ReplyDeleteThank you too for sharing this with us at Mini Album Makers this month. Hugs, Anne xx
Wow, what a stunning album! The way you used tissue paper on the cover and inside looks amazing! It looks like you had so much fun creating this, I loved reading along 😁. The colour and texture of the tissue paper cover with the gold is so beautiful and the inside of your album is stunning too, you created so much detail - I love it! Thanks so much for joining us at A Vintage Journey! Creative wishes! Jo x
ReplyDeleteWow, Lynn what a stunning album!! It's great to have you back in crafty blogland! Both the cover, with that stunning blue and wonderful use of tissue and the inside pages using some of one of my favourite Stamperia collections, look simply amazing!! Thank you for adding this wonderful album to our challenge at A Vintage Journey!!
ReplyDeleteWhat a glorious creation, Lynn - the glow of your night sky is amazing, especially with that burnt copper edging, and I love the use of the Stamperia papers on the inside. But the complete showstopper for me is your pop-up cogs and gears construction... what a touch of genius! So many ideas and so much inspiration here. Thanks so much for joining us on A Vintage Journey.
ReplyDeleteAlison x
I absolutely love your album! firstly, that glorious blue tissue paper teamed with gold accents gives such a luxurious finish. A great idea to emboss your world die cut. Then, the inside pages! wow! so much attention to detail. I love the papers you have used. Thank you so much for sharing your work with us over at A Vintage Journey. Toni x
ReplyDeletePS. I forgot to say how much I love your pop up gears ! Ingenious !
ReplyDeleteLynn this is truly amazing not only have you used some of my favourite stamperia papers but your tissue technique I find so rewarding. A wonderful piece of book art with it's coordinating them running throughout. Those pop up cogs are very very clever. Thank you for sharing and joining in again over at Mini Album Makers.
ReplyDeleteWishing you all the best in the challenge Tracey (DT)
What a wonderful book you created Lynn! LOVE that dark purple bumpy wrinkled tissue cover and your beautiful pages, especially that stand up gears piece! thanks for sharing with us at AVJ! xx
ReplyDeleteThis is such a fantastic creation! All the details and embellishments are so beautiful. :)
ReplyDeleteHoly smokes, Lynn! This is amazing, especially love the tissue paper cover with it's regal coloring! That gear pop-up is so clever, and every page is just stunning! Thank you for sharing all this creativity with us at A Vintage Journey, too! Hugs!
ReplyDeletePS Put the badge for Mini Album Makers on your post, so you will be eligible for the prize! :):)
DeleteBeautiful! I love everything about it - the papers are gorgeous and the pop up gears are amazing and so very clever.
ReplyDeleteDiana xx
Back to say congratulations on being one of the Pinworthy picks at A Vintage Journey! Hugs!
ReplyDelete