


I was especially taken with "the wall tile guy" Chris Gryder's work, but knew I did not have the time or talent to attempt some sort of replication. I did, however, want a lot of texture.
While wandering a local branch of a national craft store chain, in which I always get lost looking for the die-cutting supplies, I ended up walking down the cake and pastry decoration aisles, in which I have NO interest being gluten free, low carb and not much of a baker in any event.
However, a large display of Wilton icing tips and their magical ability to transform frosting into a beautiful flower, leaf or decorative touch.......hmmmmm.

I reasoned that texture paste seems pretty close to bakery frosting in feel. And as a fairly extensive set of tips was on sale for the Easter holiday, I jumped in with two feet - the set of tips, disposable icing bags, several additional couplers (whatever they do - just thought I might need them), and Wilton's Frosting for Beginners 101 Course booklet. I also grabbed a large jar of Liquitex Modeling Paste and several 5 inch x 5 inch gesso boards, as I wanted a firm surface.
Once home, having figured out from the all-wise You-Tube what the couplers do (they help you change tips if using the same bag, which I would be doing), I loaded up a disposable bag and tried a few tips out on my craft sheet.


Due to the thickness of the paste, I let this dry overnight (in fact well into the next evening). And then how to color? I like the white, but wanted some more contrast on the interesting textures.


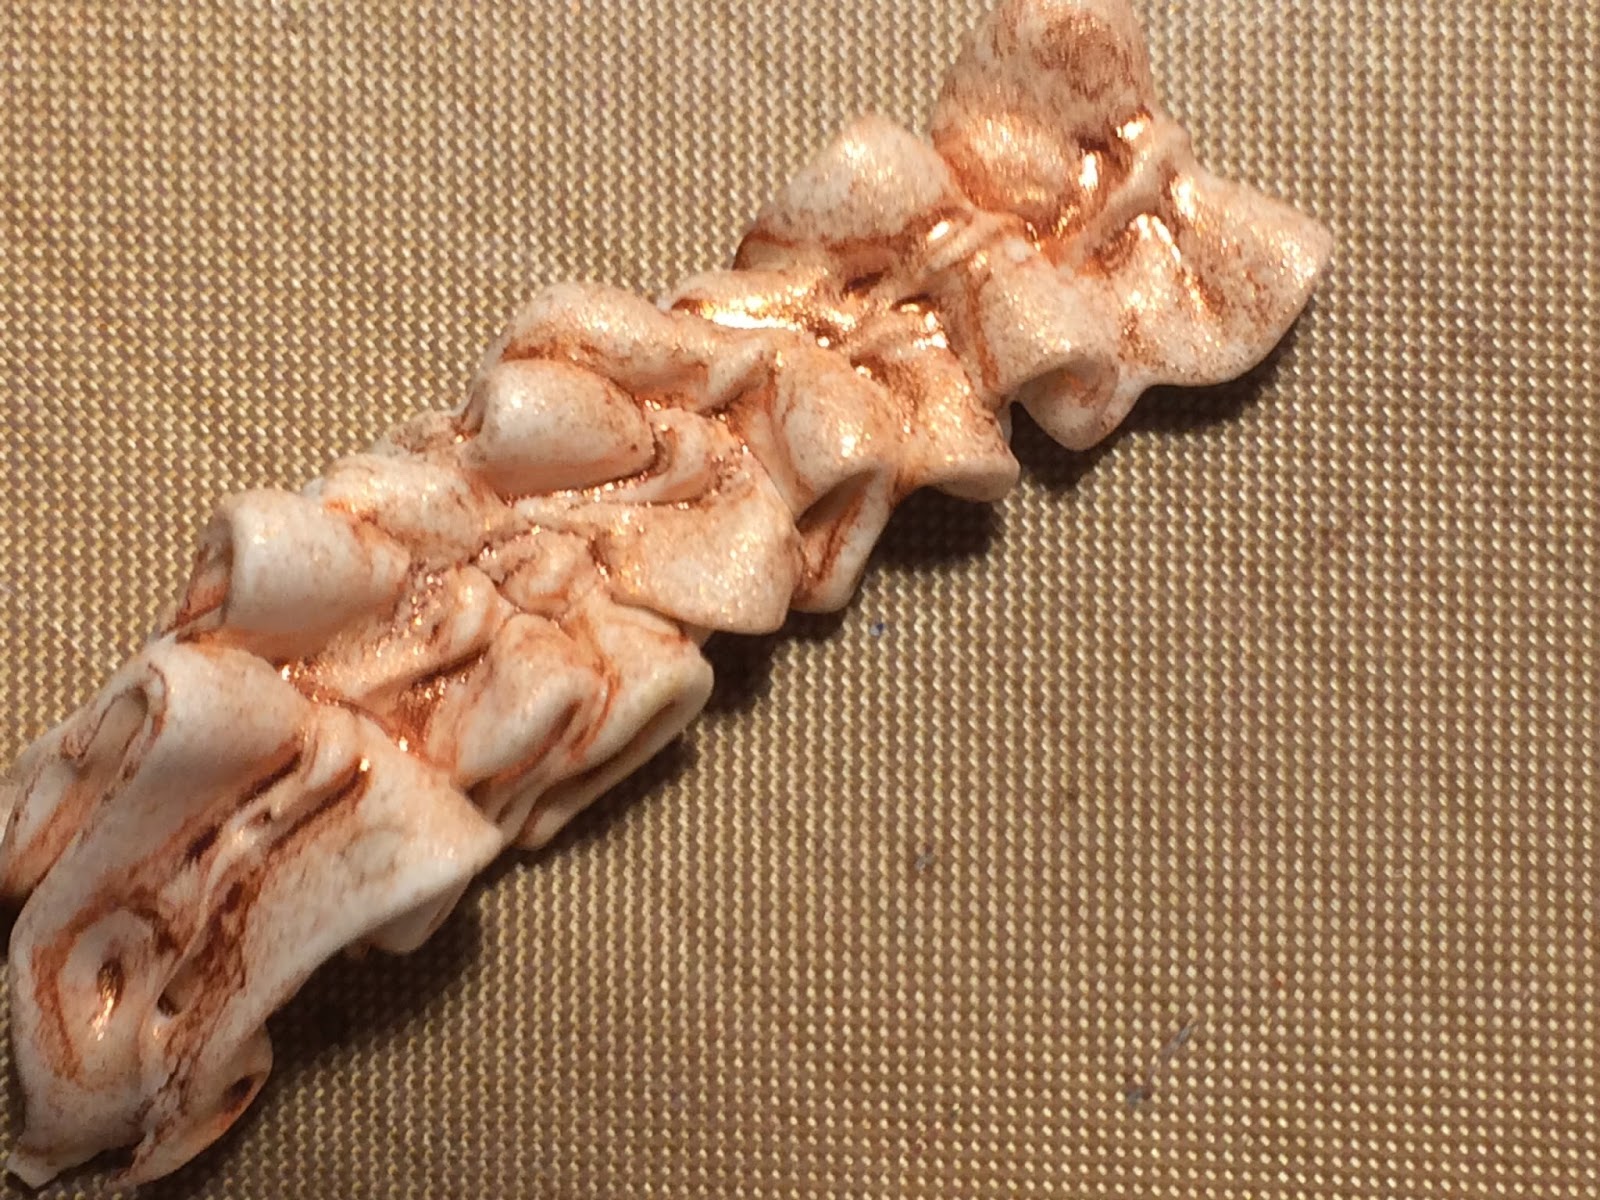

I decided for this project that I liked the more delicate look of the Perfect Pearls, and sprayed away on my little board.

Here are some close-ups:


And so there you have it...... something like a mini-pasta display :-) But quite fun, and I do love the textures. If I want to do this on a page, however, I will purchase the FLEXIBLE modeling paste, as what I used is quite brittle (just like icing, lol!)
I am posting this at PaperArtsy, and later this week at Brenda's Visual Journey #15.
Thanks so much for stopping by, and please do leave a comment. Always love hearing from you, and what you think!
Oh Lynn this is BRILLIANT!!! I had such fun reading this post, I could just picture you walking along the isles of your local store and the cogs ticking in your brain. Not being much of a baker myself, I now feel very tempted to purchase a set like this.... so many possibilities.... the PP colouring looks wonderful, love how it seeped into all of the cracks. Just fabulous!
ReplyDeleteWhat a wonderful idea! It looks amazing too! I would never have thought to do that!
ReplyDeleteGreat exploration, love all the texture and great colours. Ruth x
ReplyDeleteThis is just fabulous - what an amazing idea and how effective your little board is - I love it in both plain white and with the perfect pearls. Very inspirational!
ReplyDeleteWowzer - what an inspired creation, Lynn! Your piped paste looks simply amazing, and I love how the colour pools around the waves of texture. Brilliant!
ReplyDeleteAlison xx
How brilliantly your experiment turned out Lynn! The texture is fantastic and love how the Perfect Pearls worked.
ReplyDeleteHugs
Lesley Xx
Now that's neat - great experimentation and thinking Lynn. Love the textures and colours you played with and that you had fun down the cake and pastry decorating aisle to shop for craft stuff. Glad your playtime was so successful.
ReplyDeleteHave a great weekend and thanks for sharing with me again.
hugs brenda xxxx
Wow!!!!!!!! This is way cool!!!!!!!!!!!!!
ReplyDelete